


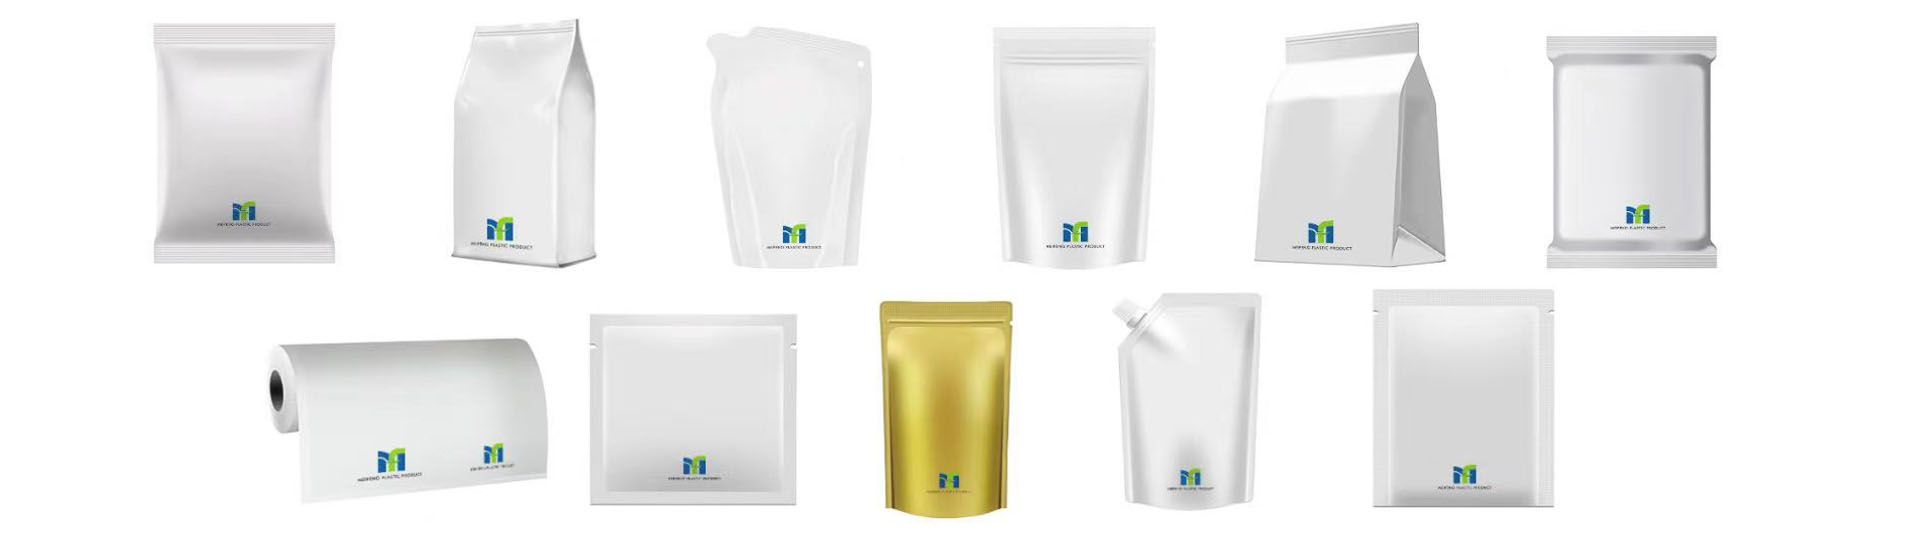
Custom Printed Food Packaging Bags are not simply blank pouches with graphics added to the surface. The bag format itself determines how much printable area is available, where important information can be placed, and which parts of the design may disappear into seals, folds, gussets, zippers, or bottom panels.
A design that looks balanced on a flat artwork file can appear very different after the pouch is formed. Front panels remain visible, side gussets expand, bottom folds open, and closure features occupy part of the upper area. For this reason, print layout should be developed around the final pouch structure rather than treated as a separate graphic step.
Custom Printed Food Packaging Bags Need a Usable Print Area, Not Just a Bag Size
The overall pouch dimensions do not equal the complete printable area.
A bag may be listed as 180 × 280 mm, but the artwork cannot necessarily use the entire 180 × 280 mm surface. Side seals, top sealing margins, bottom folds, tear notches, zippers, and other structural areas reduce the space available for critical graphics and text.
The most useful way to read a printed bag is to divide the surface into three zones:
- Primary visual area: suitable for logos, product names, and main graphics.
- Secondary information area: suitable for descriptions, ingredients, instructions, and supporting content.
- Structural or restricted area: includes seals, folds, zipper zones, tear notches, and other areas where important content should be avoided.
This distinction helps prevent essential information from being distorted or hidden after the pouch is finished.
Front Panels Carry the Main Visual Hierarchy
The front panel is usually the most stable and visible surface on Custom Printed Food Packaging Bags. It commonly carries the product name, primary image, main graphic elements, and the most recognizable visual information.
However, even the front panel has structural limits. The upper section may contain a zipper or tear notch, while the lower area may curve into a bottom gusset or separate bottom panel. Important text placed too close to these areas can appear compressed or partially hidden.
A practical front-panel layout usually keeps the most important content within a central safe zone. Decorative graphics can extend closer to the edges, but small text, logos, and other precise elements benefit from more space around seams and folds.
The larger the pouch, the more important visual hierarchy becomes. A large printed surface does not necessarily need more information; it needs clearer separation between primary and secondary content.
Side Gussets Are Design Surfaces, but They Behave Differently
Side gussets are commonly used in flat bottom bags, side gusset bags, and other expandable pouch formats. Before the bag is filled, the gusset may appear narrow or folded inward. After expansion, it becomes a visible vertical panel.
This changes how graphics should be planned.
Large text or detailed images placed directly across a gusset fold may look distorted when the bag is flat and different again when it expands. Side panels therefore work better for content that can tolerate changes in viewing angle.
Suitable side-panel content may include:
- flavor or product variants;
- icons;
- short product information;
- secondary graphics;
- visual patterns that continue from the front panel.
Continuous artwork can also wrap from the front to the side, but fold positions need to be considered carefully. A graphic line that looks continuous in a flat file may shift once the gusset opens.
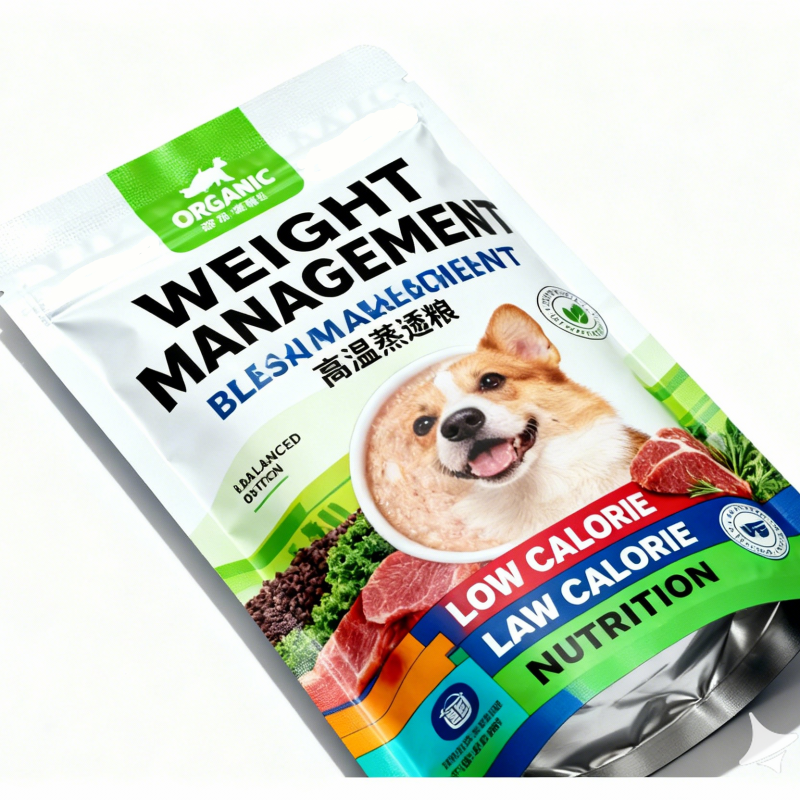
Bottom Panels Should Not Be Treated Like Front Panels
Flat bottom bags and stand-up pouches use the bottom area differently.
On a flat bottom pouch, the separate bottom panel can become a distinct printable surface. On a stand-up pouch, part of the printed film may fold inward to form the base, making some artwork less visible after the bag stands.
The bottom is therefore better suited to secondary information than primary branding.
Depending on the bag format, it may carry:
- codes;
- symbols;
- secondary graphics;
- short supporting text;
- decorative patterns.
Large logos or critical information should generally remain on surfaces that are consistently visible.
Zippers, Tear Notches, and Seals Create Restricted Design Zones
Closure features change both the structure and the available artwork space of Custom Printed Food Packaging Bags.
A zipper requires space below the top seal. Tear notches are positioned around the opening area. Heat-sealed edges also create narrow zones where printed graphics may be interrupted or visually compressed.
The following areas should be checked before artwork is finalized:
| Bag Area | Design Consideration |
|---|---|
| Top seal | Avoid essential text near the final sealing line |
| Zipper zone | Keep major graphics clear of zipper placement |
| Tear notch | Avoid placing logos or small text through the notch |
| Side seals | Keep critical information away from cut and seal edges |
| Bottom fold | Expect artwork to bend or become partially hidden |
| Gusset fold | Avoid detailed elements that require perfect alignment |
These structural zones are especially important for small packages, where even a few millimeters can noticeably change the visual balance.
Different Pouch Formats Need Different Artwork Logic
The same graphic layout should not be copied directly from one bag format to another.
Stand Up Pouches
Stand up pouches usually place most of the visual emphasis on the front and back. The bottom gusset is functional but less suitable for important information. If a zipper is included, the upper design space becomes more limited.
Flat Bottom Bags
Flat bottom bags offer more clearly defined surfaces: front, back, two side panels, and bottom. This creates more freedom to divide information across multiple areas rather than placing everything on the front.
Three-Side Seal Bags
Three-side seal bags provide a relatively flat front and back surface with fewer gusset-related distortions. This makes them useful for designs that rely on large uninterrupted graphics, photographs, or precise text placement.
Each pouch shape changes how a printed design is viewed after the bag is formed, so artwork dimensions should follow the actual dieline of that structure.
Transparent Windows Change the Visual Balance
A transparent window is not simply an empty part of the printed design. Its position affects the overall visual hierarchy of the package.
Windows can be used to reveal the food inside while printed areas carry branding and product information. Their shape may be rectangular, curved, narrow, or integrated into a larger graphic.
Good window placement usually considers:
- how much of the product needs to remain visible;
- whether the window overlaps a gusset or fold;
- whether enough space remains for important text;
- how the window interacts with the background color;
- whether the product itself has a consistent appearance behind the clear area.
A window placed too close to the bag edge may lose visual balance after sealing, while one that crosses a structural fold may look different when the pouch expands.
Matte, Glossy, and Metallic Surfaces Change How Graphics Appear
Surface finish also affects the final appearance of Custom Printed Food Packaging Bags.
A glossy finish can increase color saturation and reflection, while matte surfaces reduce glare and create a softer appearance. Metallized film can introduce reflective silver areas beneath selected graphics, creating contrast between printed ink and exposed metallic effects.
These finishes change more than style. They influence how small text, dark colors, gradients, and fine graphics are perceived.
For example, detailed black text may appear differently on a reflective metallic background than on an opaque white layer. Transparent areas also behave differently depending on the color and texture of the food visible behind them.
Artwork should therefore be considered together with film appearance rather than designed as if every bag uses the same white background.
Information Placement Should Follow How the Bag Is Viewed
Printed food packaging often needs to carry more information than one panel can comfortably hold.
Instead of reducing font size or overcrowding the front, information can be distributed according to the role of each surface.
| Panel | Suitable Content |
| Front | Product name, main graphics, primary visual message |
| Back | Ingredients, nutrition, instructions, longer text |
| Side panels | Icons, variants, supporting information, design extension |
| Bottom | Codes, symbols, secondary information |
| Transparent area | Product visibility rather than printed content |
This approach is particularly useful for flat bottom and side gusset formats, where multiple panels remain visible after the package expands.
Print Layout Should Begin with the Final Pouch Shape
The most important principle for Custom Printed Food Packaging Bags is that graphics should be designed for the finished three-dimensional package, not only for the flat film.
Bag format, seal width, gussets, bottom construction, zipper position, tear notches, windows, and surface finish all influence the final appearance. A successful layout uses these structural features as part of the design instead of treating them as obstacles added later.
This makes the printed pouch easier to read, more visually balanced, and better suited to its actual shape.
FAQ
1. Can the entire surface of a food packaging bag be printed?
Not always. Seal areas, gusset folds, zippers, tear notches, and bottom structures can reduce the usable area for important graphics and text.
2. Why should artwork be based on the pouch dieline?
The dieline shows the actual panel boundaries, folds, seals, and closure positions, helping prevent graphics from shifting into restricted areas.
3. Can side gussets be printed?
Yes. Side gussets can carry graphics and information, but designs should account for folding and expansion after the bag is formed.
4. Can custom printed food packaging bags include transparent windows?
Yes. Transparent windows can be integrated into the artwork, but their position should be coordinated with seals, folds, text areas, and the final pouch shape.
Post time: Aug-20-2026